One of the first things that my friends ask me when they try my homebrew, after the inevitable question of ABV, is how long it takes to make craft beer.
I tell them that it usually takes around four weeks from start to finish. I then point out that most of the activity occurs on brew day when I typically spend approximately seven hours actively making the beer. From then on, it’s mostly a matter of waiting.
How long it takes to brew a craft beer depends on the type of beer and the techniques used. A homebrewer will take from four to six weeks to brew an ale whereas a commercial microbrewery will take two to three weeks. Lagers and high gravity beers take slightly longer.
The reason for this difference in time-scale is the techniques used. Although the brewing process is basically the same, microbreweries can speed up the fermentation process slightly due to accurate temperature control and pitching more active yeast cells.
The main difference in timescale comes from the conditioning phase. Once fermentation has finished, the beer needs to clear, mature and carbonate.
Like the majority of homebrewers, I bottle my beer and rely on the leftover yeast to clear up unwanted by-products and generate carbon dioxide.
Microbreweries, on the other hand, cold crash the beer before putting it into kegs and using cylinders of CO2 to carbonate. This reduces the time needed to condition the beer from two to four weeks to just a few days.
What is craft beer?
Craft beer is defined as beer made using only traditional ingredients; water, malted barley, hops and yeast. Other components may be added to a craft beer to achieve a particular flavour or mouthfeel, for example, oats, honey, spices or even fruit.
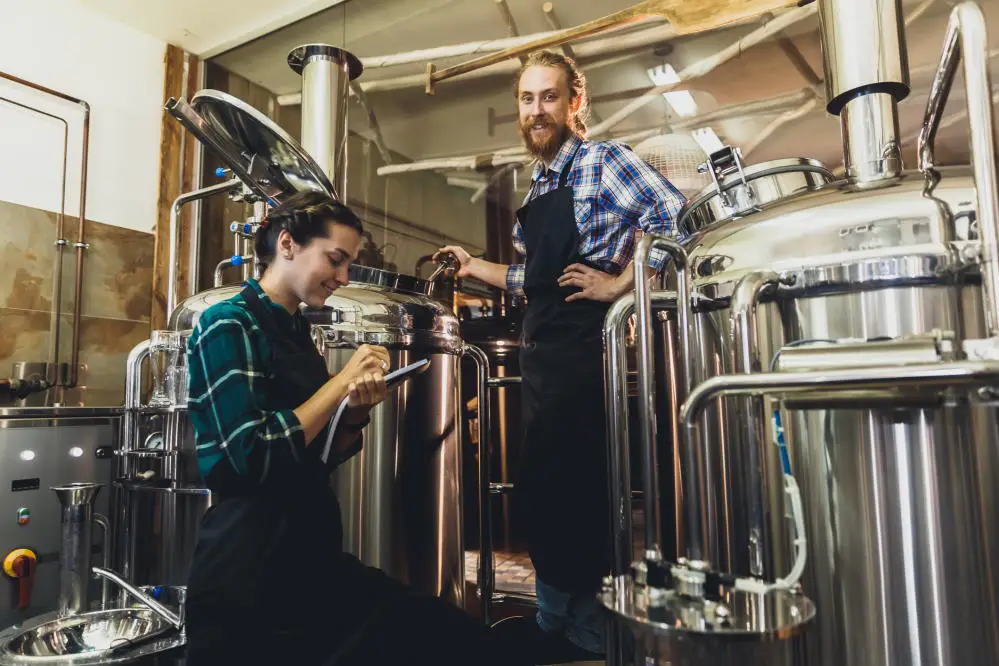
Craft beer is usually produced on a smaller scale in craft breweries, brewpubs and microbreweries which are generally independently run by beer enthusiasts.
Apart from scale, what differentiates craft beer from regular beer is the fact that you aren’t allowed to add other ingredients to reduce production costs or conserve the beer.
Most commercial lagers, for example, contain rice or corn to reduce the costs. Regular beer is also filtered and pasteurised to extend shelf life.
In recent years, due to the increasing popularity of craft beer, many of the larger mainstream breweries have started producing IPA and other ales in an attempt to capture some of the market.
What’s the difference between a microbrewery, craft brewery, brewpub and a home brewery?
So far in this post, we’ve spoken about home breweries, craft breweries and micro-breweries. Although all three produce craft beer using the same ingredients and similar processes, they’re not the same.
Home brewing
Homebrew is, fairly obviously, a beer which is made at home. Although some homebrewers make beer from extract kits which include cans of pre-prepared wort which just needs to be fermented, nowadays most keen homebrewers make craft beer from scratch either using all-grain kits, following recipes or even coming up with their own unique formulas.
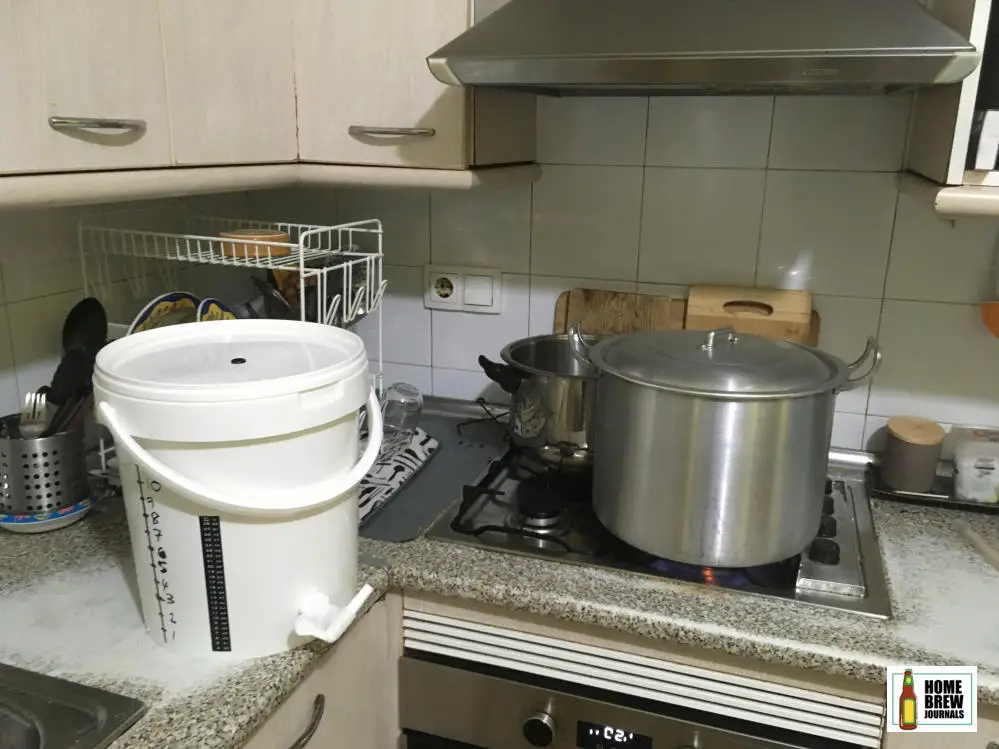
Home-brew batch sizes typically range from one gallon (four litres) up to 5 gallons (twenty litres). The equipment used by homebrewers varies widely. Some people like the simplicity of Boil In A Bag, whereas other people’s homebrew setup resembles a full-blown microbrewery, although on a smaller scale.
One thing that all homebrewers have in common is that they produce beer in their home for personal consumption. Most countries have strict laws which regulate the production and sale of alcohol on a commercial basis.
If you’re interested in the regulations surrounding homebrew you should check out my posts about USA homebrew laws and UK homebrew laws.
Craft brewery
By definition, a craft brewery brews craft beer. This means that it brews beer using traditional methods and high-quality traditional ingredients i.e. malted barley, hops, water and yeast. If they use additional ingredients, they can only be for flavouring, not to reduce cost.
Craft breweries also have to be independently owned and usually create speciality beers.
Although many people use the terms craft brewery and microbrewery interchangeably, and indeed most microbreweries do produce craft beer, they aren’t necessarily the same thing.
Micro-brewery
A microbrewery is a brewery which produces no more than 15,000 barrels of beer per year.
Although most micro-breweries make craft beer to their own recipes, this isn’t necessarily true. In theory, a micro-brewery could create “regular” beer, as long as they don’t make more than 15,000 barrels per year.
Brewpub
As its name suggests, a brewpub is essentially a pub which brews its own beer onsite.
The Brewers Association differentiates between brewpubs and taproom breweries. Both are micro-breweries which sell at least 25% of the beer they produce on their own premises. The difference between the two is that the brewpub also sells a significant quantity of food, whereas a taproom brewery mostly sells beer.
Craft brew timeline
As we’ve already discussed, the exact timeline for producing craft beer can vary slightly.
I’m going to describe the process that I use to brew ales and how long it takes. Although microbreweries, and many homebrewers, will be able to brew faster, the steps of the brewing process are basically the same.
Day 1 – brew day
Step 1 – preparation
Get equipment together and clean it, take the yeast and hops out of the fridge and let them warm up.
Time needed = 15 minutes.
Step 2 – heating water
Heat the strike water to 77ºC (170 Fahrenheit) in the kettle and pre-warm the mash tun.
Time needed = 30 minutes.
Step 2 – mashing
The malted barley is mixed with the hot water in the mash tun (I use a converted cooler) and left to steep for between one and two hours depending on the recipe. This extracts sugars from the barley in a process called mashing.
You can read more about the mashing process in this post.
During the last thirty minutes, I heat additional water (liquor) to 77ºC (170 Fahrenheit) ready for the next step.
Time needed = 2 hours
Step 4 – sparging
Next, I recirculate the wort through the grain bed and drain it off. Additional hot water is added and also recirculated through the grain to rinse out as much of the sugar as possible. This process is called sparging and lautering.
Time needed = 1 hour
Step 5 – heating
The wort is returned to the brew kettle and heated to a rolling boil. You have to take care that the wort doesn’t boil over during what is known as the hot break.
Time needed = 30 minutes
During this step, I weigh out the hops into tumblers which I line up next to the stove in the order that they will be added (depends on the recipe).
Step 6 – boiling
As soon as the wort is boiling, I add the first hops (bittering hops).
The wort is then boiled for 60 minutes during which time more hops are added at different times. The exact timings and quantities of hop additions depend on the recipe.
During the time I thoroughly sanitise the fermentation vessel, wort cooler, colander and other items which will come into contact with the wort once it has been boiled.
At the end of sixty minutes, I turn off the heat and add the last hop addition.
Time needed = 1 hour
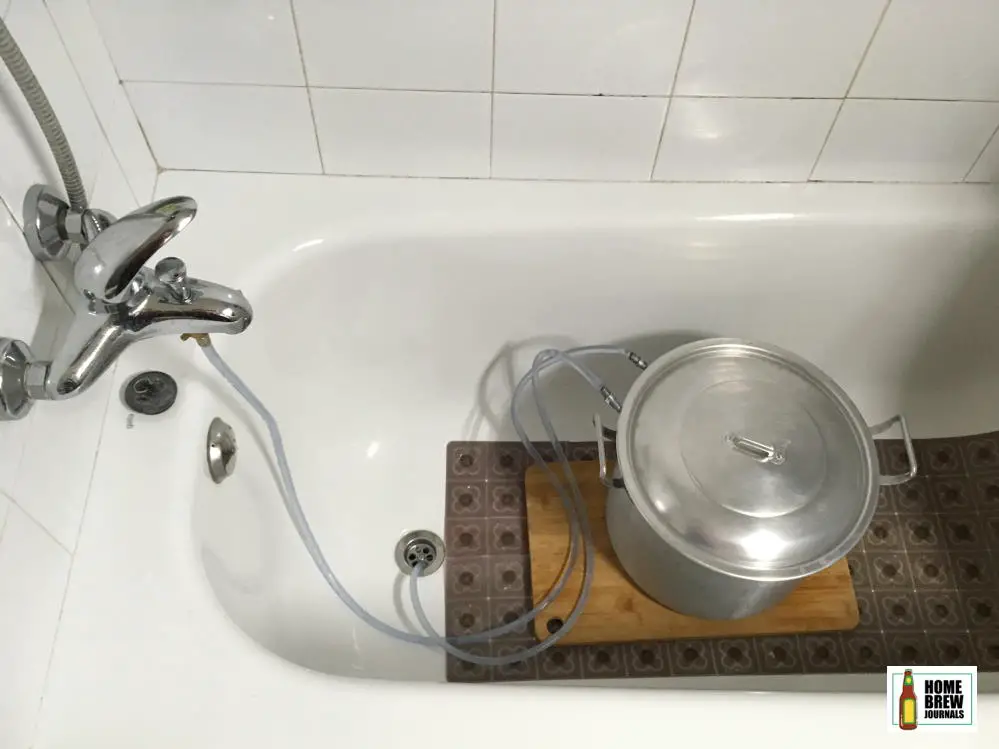
Step 7 – cooling
Once the heat has been switched off, and the last hops are added, I typically let the wort sit for ten minutes so that the flavour of the hops can infuse.
Next, I place the wort cooler into the kettle and recirculate cold water through its cooling coil until the wort cools to below 22ºC (71 degrees Fahrenheit). With my setup, it takes approximately thirty minutes to cool the wort down.
Time needed = 45 minutes
Step 7 – oxygenation
Once the wort has cooled, I pour it through a sanitised colander (to catch the majority of the hops) into the fermenter and then stir it vigorously with a mash paddle in an attempt to mix as much oxygen into the wort before pitching the yeast.
Time needed = 15 minutes
Step 8 – pitch yeast
I now sprinkle the yeast on top of the wort and gently stir it in before sealing the fermenter and transferring it to the pantry where fermentation will take place. Once the fermenter is in the pantry, I fit the airlock which I have already half filed with sanitiser.
Days 2 to 14 – fermentation
The primary fermentation takes a few days, but I typically leave the beer in the fermenter for two weeks before bottling. This allows the yeast time to clean up any unwanted by-products created during fermentation due to less than ideal temperatures.
Some recipes, typically IPAs, require more hops to be added at this stage in a process called dry hopping.
Day 14 – bottling
Step 1 – preparation
Thoroughly clean and sanitise enough bottles and crown caps for the size of batch being made then leave them to dry.
Time needed – 1 hour
Step 2 – bottling
Transfer the beer into bottles leaving the sediment and dead yeast (trub) in the fermenter. Add the correct amount of priming sugar to the bottles and cap them. Some people mix the priming sugar with water and then add it to the beer before bottling.
I prefer to add a measured scoop of sugar to each bottle before slowly filling with beer and capping. This may be slightly more time consuming, but I think that there is less chance of error (incorrect amount of sugar or contamination).
Time needed – 1 hour
Step 3 – conditioning and carbonation
I now place the bottles of beer in a dark place to mature. During this time, the remaining yeast in the beer creates CO2 which carbonates the beer. This process takes at least two weeks, although I find that most beers will taste better and have better carbonation if left for four weeks.
Day 28 onwards – consumption
Once conditioning has completed, you can finally enjoy your finished craft beer and share it with friends.
How do micro-breweries save time?
The process and timeline above are pretty typical for most homebrewers when brewing ales. Micro-breweries and some very keen home brewers reduce the time needed by using the following techniques:
Pitching more active yeast
While most homebrewers use dried yeast, professional brewers use liquid yeast which ensures that fermentation starts soon after the yeast is pitched. In the case of dried yeast, fermentation starts between eight and twenty-four hours after the yeast was added to the wort.
Temperature control during fermentation
Although I keep my fermenter in a cupboard which is at a temperature that lies within the working temperature of the yeast which I am using it still fluctuates a bit.
These temperature fluctuations may cause unwanted by-products to be produced during fermentation. Given time, the yeast will clean up these unwanted flavours. Because of this, most homebrewers leave their beer in the primary fermenter for two weeks.
Micro-breweries use stainless steel conical fermenters which have a heat exchanger built into the sides. They also monitor the fermentation process very closely by taking frequent gravity readings. This allows them to transfer the beer to barrels sooner.
Forced carbonation and filtration
Once fermentation is completed, micro-breweries use processes like cold crashing and filtration to clear the beer before transferring it to kegs. The kegs are then placed in a temperature-controlled room and connected to a force carbonation system which carbonates the beer in just two or three days.
What about craft lagers?
Craft beers are most commonly associated with ales and in particular hop-forward styles like IPA. That doesn’t mean that you can’t brew craft lagers, it’s just that most homebrewers prefer not to.
The principal difference between ales and lagers is the yeast. Ale yeasts ferment at the top of the wort at temperatures between 18 and 22ºC (64 – 72 degrees Fahrenheit) whereas lager yeasts ferment at the bottom of the wort at around 12ºC (54 degrees Fahrenheit).
Another important difference is the mashing process. Most lager brewers step mash, holding the mash at a series of predefined temperature rests, whereas most homebrewers prefer to infusion mash.
Finally, lagers are conditioned for between four and six weeks at just above freezing point in a process called lagering. This means that whereas an ale can be ready in three or four weeks, it takes at least six weeks to brew a craft lager.
