So you’ve decided to try your hand at brewing your own beer? Good choice, there are few things in life more satisfying than pouring yourself a glass of beer that you’ve brewed yourself. It’s also a lot of fun.
The first thing you’re asking yourself is probably something like: What equipment do I need to brew beer?
You’ve probably already had a look at a few home brewing supplies websites and found that there’s a huge range of different types of kettles, fermenters, racking canes, homebrew kits and accessories to choose from.
It’s easy to get carried away and spend money things which you don’t really need.
When starting out, it’s best to keep things as simple and inexpensive as possible by brewing small batches. This allows you to brew on a standard stove using mostly equipment that you already own.
In our beginners’ tutorials, we make small five-litre batches using a simple six-step brewing process that is easy to master.
Once you’ve mastered the basics, you can start refining the process, concentrating on the finer details of brewing and producing larger batches.
What do you really need to homebrew beer?
This is the equipment you will need to brew beer either all-grain or with a kit.
- Kettle or stockpot
- Colander or sieve
- Fermenting bucket
- Airlock
- Large metal spoon
- Thermometer
- A dozen swing top beer bottles
- Bottle cleaning brush
- No-rinse sanitiser
- Kitchen stove and sink
- Plastic spray bottle (for sanitizing)
- Old towels
- Digital scale
- Ingredients (vary depending on the recipe)
- Ice cubes
Choosing homebrew equipment
Now you know what you need to purchase. Let’s take a look at what each of the items is used for and what you should look for when purchasing, or whether the one you already have in your kitchen will be suitable.
Brew kettle/stockpot
If you plan are following the beginners’ recipes on this site, you will be heating seven litres of mineral water (1.58 US gallons). To this, you will add 1.5 kg of ground malt (3.3 lbs).
You need a pot with a lid that is large enough that when the mixture is boiling it won’t boil over. At the same time, it shouldn’t be so large that it is hard to lift and pour. Two-handled stock pots or kettles are the best for pouring the hot wort into the fermenting bucket.
Although a stainless steel kettle would be nice, aluminium pots are plenty good enough, lighter and cheaper.
My kettle is a twelve and a half litre aluminium stockpot and was the largest one that I could find at my local hardware store. A stainless steel kettle like this one would be ideal.
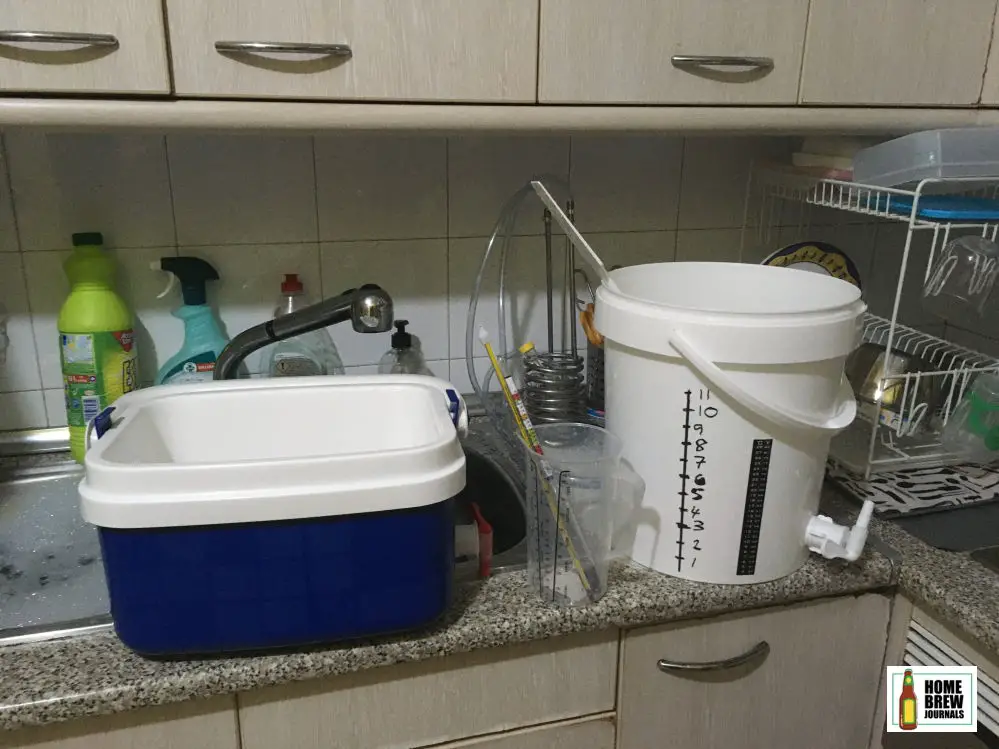
Fermentation bucket
As its name suggests, a fermentation bucket is a plastic bucket with a lid where the wort ferments. The bucket needs to be made of food-grade plastic and have a lid with an airtight seal.
Most fermentation buckets sold at homebrew shops and online come with an airlock and a tap. You could also purchase a food-grade bucket like the ones used by catering firms and restaurants but, by the time you’ve added the cost of the airlock and the tap, it will probably work out cheaper to buy a fermentation bucket.
In addition to fermentation, in the beginner’s tutorials, we also use the fermentation bucket for lautering (rinsing the sugars from the malt), cooling the wort and for bottling. Because of this, you need to make sure that your bucket will fit in your kitchen sink and has a tap for bottling.
The size of the fermentation bucket you need depends on the quantity and style of beer you are brewing. During the fermentation process, a foamy layer called krausen forms on top of the homebrew. How much foam is generated depends on the type of beer that you are brewing and will be somewhere between 20% and 50% of the volume of the wort.
In the tutorials on this website, we brew five litres of beer using a ten-litre fermentation bucket.
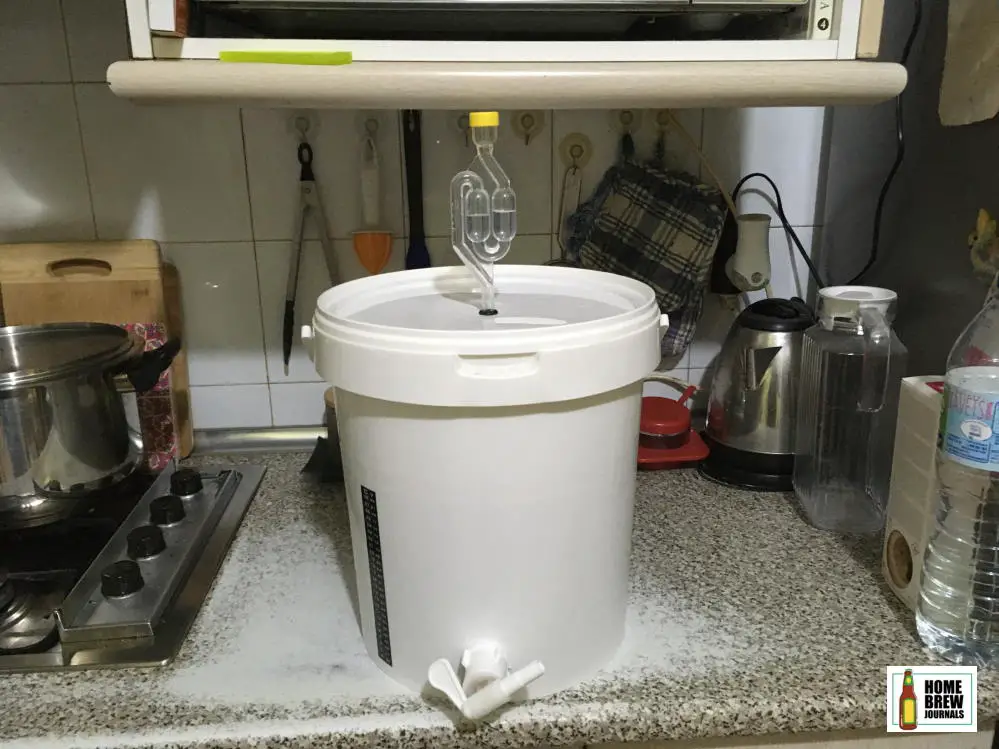
Airlock
During the fermentation process, yeast converts oxygen and sugar into carbon dioxide and alcohol. The alcohol becomes dissolved in the beer and the carbon dioxide escapes.
The airlock is a one-way valve that allows carbon dioxide to escape from the fermentation bucket but doesn’t let air in.
There are a couple of different types available, both of which are filled with water and allow the carbon dioxide to escape as bubbles.
As mentioned above, most fermentation buckets come complete with an airlock and seal.
Large metal spoon
You’ll need a large metal spoon for stirring the malt occasionally at the start of the mashing process.
Any steel kitchen spoon that is long enough that you won’t lose it if it falls into the wort is suitable. A slotted spoon makes stirring easier.
Colander
This is another item which you probably already have at home. To make straining the wort as easy as possible, your colander should sit comfortably on top of the fermentation bucket. That way you will have both hands free for handling the brew kettle.
I use a cheap stainless steel colander that I purchased at my local supermarket.
Thermometer
Sugars and flavours are extracted from the malt in a process called mashing. Before adding the malt you heat the water up to 77ºC.
After you’ve finished boiling the wort, you need to make sure that the wort has coolled down to below 25ºC before adding the yeast.
During the fermentation process, the fermentation bucket needs to be at a temperature between 18ºC and 22ºC.
To check the temperatures you can either use an electronic meat thermometer if you already have one or purchase a glass brewer’s thermometer.
Rinse free sanitiser
Once the wort has been boiled and the hops added, you cool it down before transferring it to the demijohn or fermenting bucket.
From this point onwards, it’s essential that everything that comes into the wort has been thoroughly sanitised using no-rinse sterilizing liquid.
Bottle cleaning brush
Use this to thoroughly wash your beer bottles before applying the sterilizing mix.
Empty beer bottles
The recipes in our beginner’s tutorials make approximately ten bottles of beer.
For your first batch of homebrew, I recommend you use flip-top beer bottles because it saves you from having to purchasing a bottle capper and crown caps.
Having said that, I normally use regular 33cl commercial beer bottles with crown caps because they seal better.
Screw top beer bottles are not suitable for homebrewing because they don’t seal properly.
Obviously, you can purchase new flip-top bottles but it makes more sense to recycle. Start collecting your empty bottles now!
If you decide to use crown caps, I recommend the knock-on type of manual capper. It may seem counter-intuitive, but they are easier to use than the lever type. The only exception would be if you live in an apartment, in which case you’re neighbours will thank you for purchasing a lever-type manual capper.
Measuring spoon
When bottling you add a spoonful of sugar to each bottle. The amount of sugar needed depends on the size of the bottles you are filling and is fairly critical. Too little sugar and you end up with flat beer. Too much sugar and you can blow the tops off the bottles.
It’s worth purchasing a cheap set of measuring spoons, also known as priming spoons. I use a 3 in 1 priming spoon with scoops that correspond to standard bottle sizes.
Kitchen stove and sink
One of the advantages of brewing small batches is that you can boil the wort on a regular stove and cool it down by placing the kettle in s sink full of iced water.
Ingredients
Beer is made of water, malt, hops and brewer’s yeast. The exact recipe will vary depending on the type of beer you are brewing.
Digital scale
A scale is used to measure the amounts of malt and hops that are specified in your recipe. Even if you’ve purchased exactly the right quantities, you’ll probably need to divide the hops up.
For small batches, a cheap digital kitchen scale like this one capable of measuring up to 5kg is ideal.
If you’ve purchased a kit you probably won’t need a scale.
Old Towels
It’s a good idea to have a couple of towels on hand to mop up any spills. You can also use towels to keep the wort warm during the mashing process. Don’t forget to double-check that the stove is turned off before wrapping your kettle in towels!
Ice Cubes
At the end of the boil, it’s important that you cool down the wort to pitching temperature as fast as possible. For small batches, the easiest way to cool the wort down is to simply plunge your kettle into a sink full of cold water and ice. Two or three bags of ice is sufficient to cool a five-litre batch.
All Grain Homebrew Kits
There are several good all-grain homebrewing kits on the market, most of which are a good deal when compared with purchasing the equipment and ingredients separately.
I started homebrewing with a kit like this one and continued using the fermenter and other articles in the kit to make half a dozen more batches before upgrading to a slightly larger setup.
If you do decide to purchase a kit you should bear in mind that, with a few exceptions, most kits don’t include items such as the kettle, spoons, colander etc.
